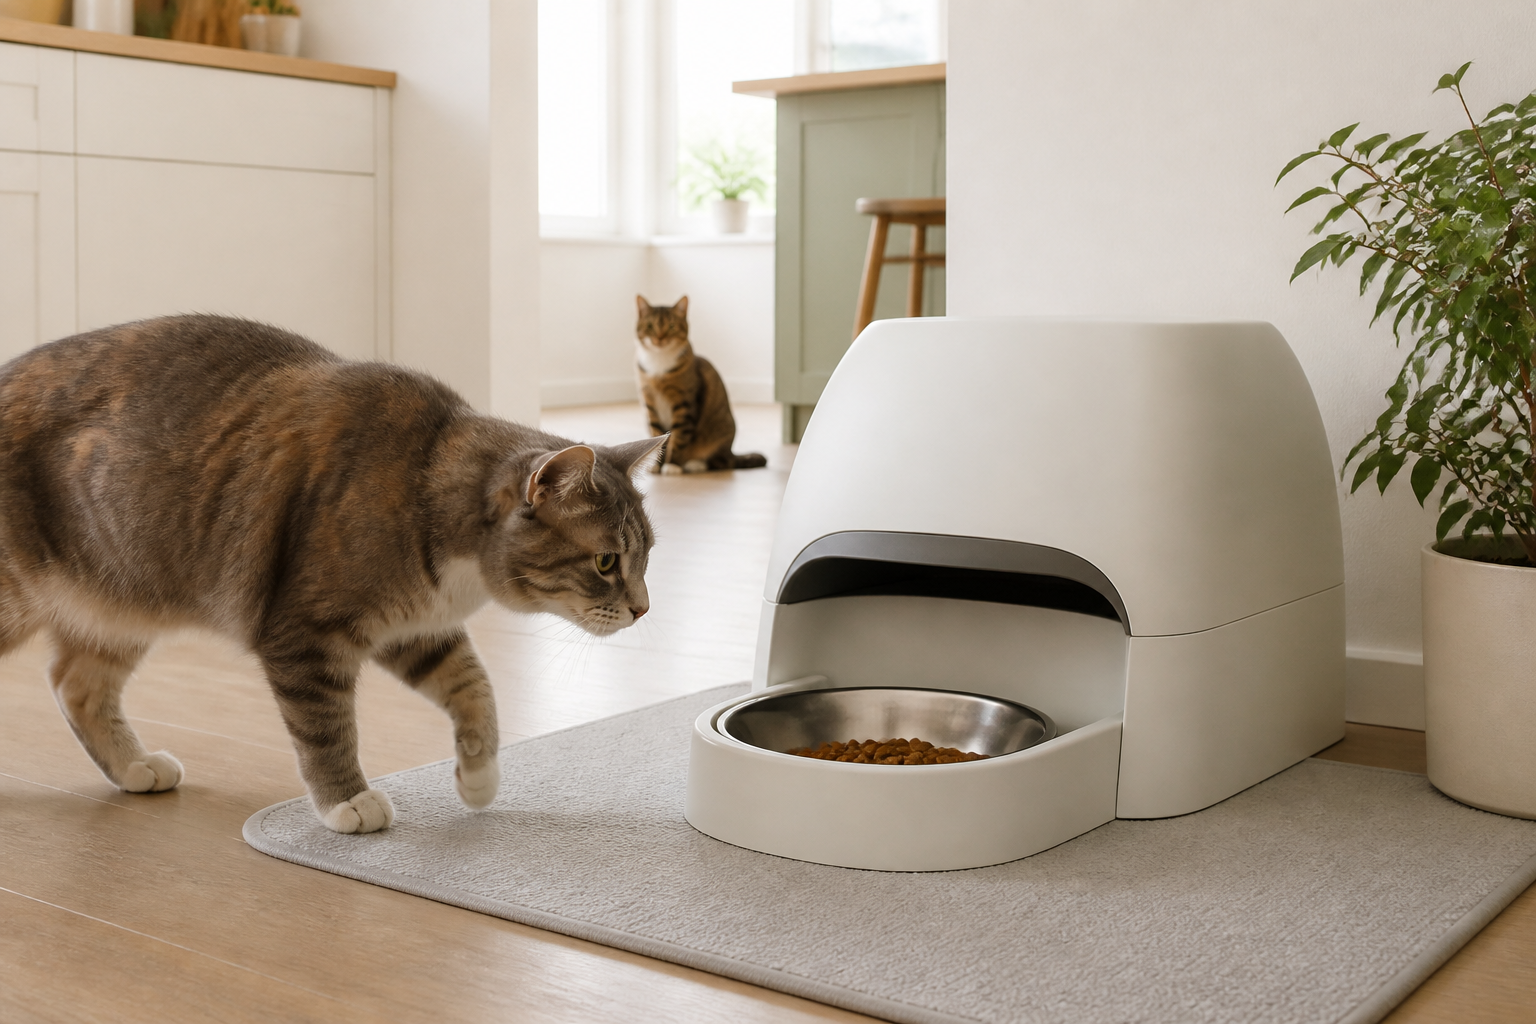
A microchip feeder is a household management tool, not a medical device or a substitute for veterinary feeding guidance. If a pet needs a prescription diet, has appetite or weight changes, guards food, seems fearful, or repeatedly misses meals, ask a licensed veterinarian or qualified behavior professional about the underlying issue and the safest setup.
Quick Comparison: Which Recognition Setup Fits?
- Implanted-chip recognition: avoids adding a collar tag when the pet already has a compatible chip, but compatibility must be confirmed for the exact feeder and chip standard.
- Supplied collar tag: can work for a pet without a readable implanted chip, provided the pet comfortably and safely wears the tag and the maker supports replacements.
- More-enclosed access: adds side or rear barriers where another pet crowds the bowl, but it uses more space and still cannot guarantee that no other pet reaches food.
- Separate-room feeding: is often simpler when pets accept closed-door meals and the household can supervise the routine.
Selection Criteria That Matter
- Recognition compatibility: check the feeder maker's current list of supported chip types or supplied tags. “Microchip compatible” is not enough detail by itself.
- Opening geometry: measure entrance width, hood height, bowl depth, and the room needed for the lid or barrier to move. Watch whether whiskers, ears, collar hardware, or shoulders contact the housing.
- Bowl capacity and meal fit: confirm usable capacity, included dividers, and food types the maker permits. Do not change portions or diet to suit the device without veterinary guidance.
- Training mode: favor a documented staged mode that lets the cover move in smaller increments. Never force a wary pet into the opening.
- Power and alerts: verify battery type or adapter requirements, expected replacement routine, low-power indicator, and what happens when power runs out.
- Food-contact parts: check which bowls, mats, seals, and covers detach; what materials are documented; and which parts are dishwasher-safe versus hand-wash only.
- Manual controls: understand registration, reset, open, close, and lock functions before the feeder becomes part of a daily meal routine.
- Replacement parts: look for current sources for bowls, mats, tags, lids, and batteries rather than assuming they will remain available.
Set Up the Room Before Training
Place the feeder on a level, washable surface with a clear approach and an easy exit. Avoid trapping the intended pet in a corner or putting the feeder where another pet can block the path. A measured feeding mat can simplify crumbs and drips without interfering with moving parts.
Introduce the housing before relying on the closing mechanism. Follow the maker's staged training directions, observe every pet's response, and keep the previous safe feeding option available during the transition. If the intended pet avoids food, stop and reassess rather than waiting for hunger to overcome fear.
Cleaning and Daily Checks
Remove food-contact parts after the meal schedule recommended for the food you use, wash them according to the maker's directions, and dry them fully before reassembly. Wipe crumbs from tracks, hinges, sensors, and the surrounding mat without soaking electronic parts.
Check daily that the cover moves freely, the registered pet can enter and leave comfortably, batteries are not depleted, and another pet is not crowding from the side or rear. Keep the food package, lot information, feeding instructions, and veterinarian's plan available; the feeder does not replace any of them.
Who Should Skip a Microchip Feeder?
Skip or delay this purchase if the intended pet is frightened by enclosed bowls or moving covers, cannot approach comfortably, does not have a compatible recognition option, or already eats reliably in a separate room. It may also be the wrong tool when active food guarding, bullying, pain, appetite change, or a medically managed diet needs professional oversight first.
Households that only need less mess may get more value from a simpler feeding-station reset. If the real problem is fast eating rather than access between pets, compare slow feeder bowls and puzzle feeders with your veterinarian's guidance where needed.
The Bottom Line
Start with a covered feeder whose recognition method, opening, bowls, training mode, and cleaning routine fit the intended pet and room. Add more enclosure only when the measured setup calls for it, and keep expectations realistic: selective access can support a multi-pet routine, but it cannot guarantee food separation or solve a medical or behavior concern.