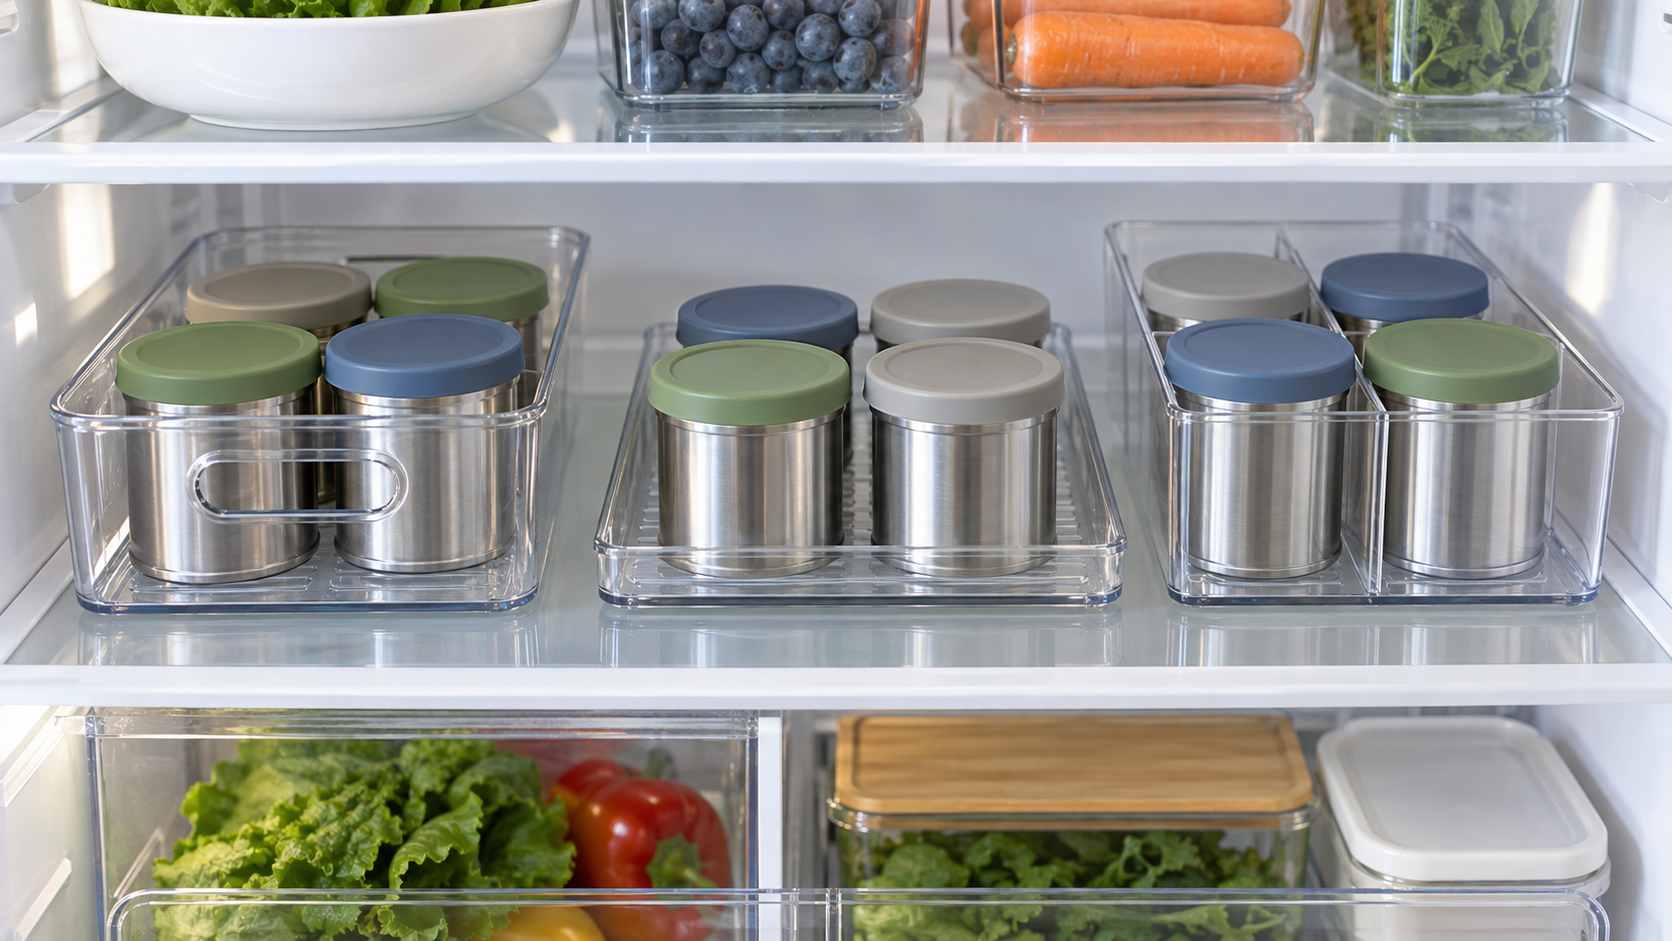
This guide is about containing and retrieving cans that already have suitable covers. An organizer does not seal a can, extend storage time, preserve freshness, or replace the food label's directions. Follow the pet food maker's instructions and your refrigerator maker's guidance; ask a licensed veterinarian about feeding or food-safety questions specific to your pet.
Quick Comparison: Match the Organizer to the Routine
Handled bins: move the whole group
A handled bin suits households that store several covered cans together and want to pull the group forward. Check inside width and depth because tapered walls and molded handles can make the usable base smaller than the advertised exterior.
The tradeoff is extra wall and handle height. A loaded bin can also become awkward, so check the maker's stated use and load guidance and lift it with both hands rather than relying on a thin front lip.
Low lipped trays: see and lift each can
A shallow tray keeps lids and labels visible and wastes less vertical space. It works best on a level shelf where the lip is high enough to contain a small drip but low enough that cans can be lifted straight out.
It offers less side support than a bin. If cans slide when the refrigerator door closes, choose a better-fitting tray or a divided format rather than packing the tray so tightly that covers are disturbed.
Divided organizers: separate cans by slot
A divided container can separate different foods or pets and reduce can-to-can movement. Each compartment needs enough width for the covered can, including any lid tab or overhang, plus finger room for retrieval.
Fixed dividers are easy to understand but unforgiving when can sizes change. Removable dividers add flexibility, yet create more edges and pieces to inspect, wash, and dry.
Measure the Full Storage Path
Measure a can only after fitting the cover you actually use. Record maximum diameter, total height, and any pull tab or flexible edge that protrudes. Then measure the refrigerator shelf's usable width, depth, and height—not just the opening—and check whether a door bin, drawer, hinge, light, or air outlet reduces clearance.
Mark the number of cans you routinely store at one time. Interior dimensions determine capacity; exterior dimensions determine whether the organizer fits. If a listing supplies only one set of measurements, do not assume it describes the usable interior.
Plan how you will remove the rear can. A very deep bin may look efficient but encourage forgotten cans if the entire loaded organizer must be lifted each time. Rotation should follow the food label and your normal household system, not an organizer seller's generic storage claim.
Selection Criteria That Matter
- Usable interior dimensions: Allow space for each covered can and its lid edge without squeezing, stacking, or tilting it.
- Shelf footprint: Include handles, feet, tapered sides, and clearance needed to slide or lift the organizer.
- Capacity: Choose for the number of cans normally open under the food maker's directions, not the maximum that can be forced inside.
- Lip and base: A continuous easy-to-see base and modest lip can contain a small drip long enough for cleanup; no organizer can contain a major leak.
- Retrieval: Handles should remain reachable, while low trays need enough exposed edge or side clearance for a secure grip.
- Dividers: Check compartment width, adjustability, loose-part risk, and whether divider tracks trap residue.
- Stacking: Stack only when the maker permits it and cans remain upright, visible, and accessible.
- Material claims: Verify current manufacturer statements for refrigerator use and any food-contact claim relevant to your setup.
- Cleaning directions: Confirm whether hand washing or dishwasher cleaning is specified and whether corners and divider tracks can dry completely.
- Visibility and labeling: Maintain whatever labeling your household needs rather than relying on lid color alone.
Use, Clean, and Inspect the Organizer
Fit an appropriate cover first, wipe the can exterior if needed, and place the can upright. Keep the organizer on a stable shelf where it does not block refrigerator vents or interfere with the door. Do not use an organizer to justify storing a can longer than its label directs.
When a drip appears, remove the cans and clean the organizer and shelf according to their respective manufacturers' directions. Let the organizer dry fully before returning it. Replace it if you find cracks, sharp edges, a warped base, or loose dividers.
Keep human food and pet food arranged to prevent mix-ups. If several pets eat different foods, use clear, durable identification and follow each product label and any feeding plan supplied by your veterinarian.
Who Should Skip a Fridge Organizer
Skip a dedicated organizer when you rarely store more than one covered can, an existing washable tray already fits safely, or refrigerator space is too tight to lift cans without disturbing their covers. A designated shelf position may be easier than adding another item to wash.
Also skip category listings that omit interior measurements or care directions. Do not buy an organizer to solve a leaking, poorly fitting, cracked, or damaged can cover; replace the cover or use a suitable reusable container according to the food maker's directions.
This is an organization convenience, not a nutrition or health product. Contact a licensed veterinarian if you have questions about a pet's diet, feeding plan, refusal to eat, vomiting, diarrhea, or another health concern.
The Bottom Line
Choose a handled bin when you regularly move several covered cans, a low tray when visibility and vertical clearance matter most, or a divided organizer when measured slots improve separation. Covered-can fit, refrigerator clearance, easy retrieval, drip visibility, and realistic cleaning matter more than claimed capacity.
Start with the cover decision in our pet food can cover guide. If transferring the food may fit your routine better, compare a can cover and reusable fridge container.